Before we proceed with the How To which Stephen has kindly written for us, let me just say that due to the volume of information on this post I will probably spread it over a few posts. Stephen has over 23 steps he has described. Here are the first 8 steps.
 |
| Owing to the heat in Sydney today I have employed my man servant Louis Rochechouart to be the interim model for Stephen Temkin's masterful beaver felt hat for Le Noeud Papillon of Sydney. |
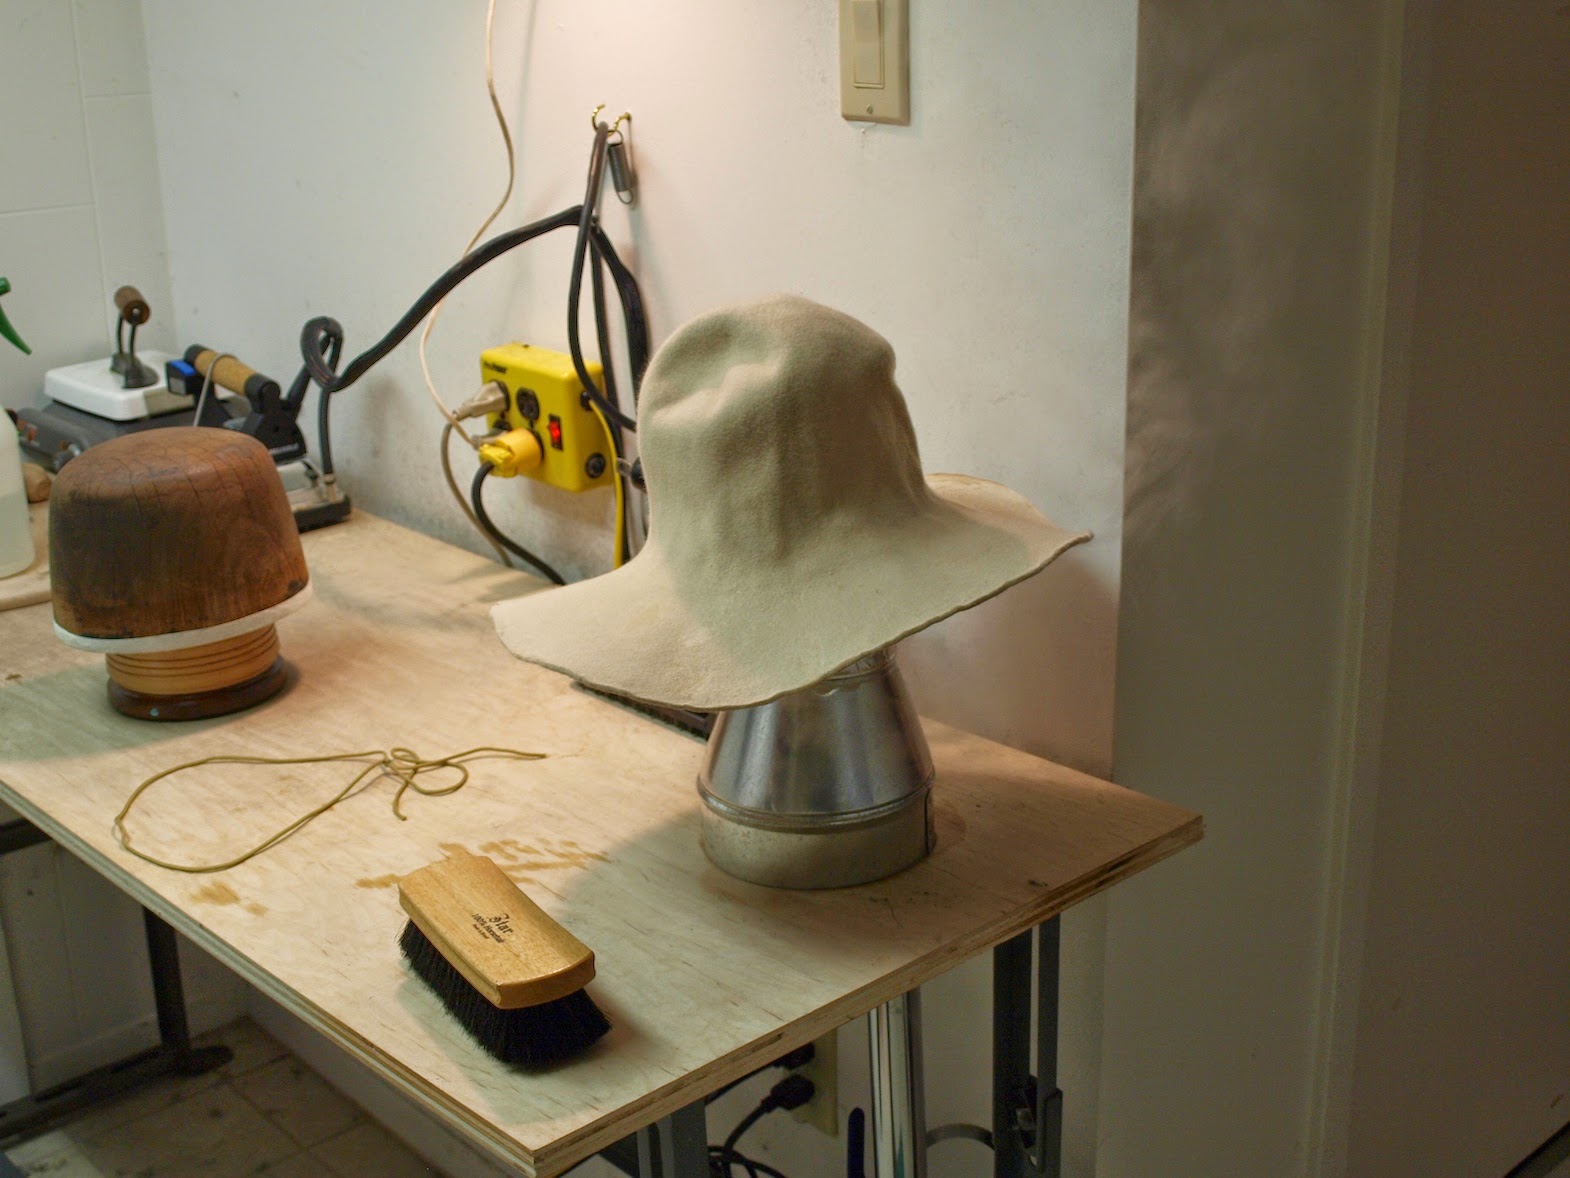
STEP 1: Ready To Go

2:
Steaming the Felt
The
felt is made malleable and stretchable with about 20 seconds on the steamer.
3:
Blocking the Felt
While
warm and moist, the felt is pulled tightly over the block with the help of a
curved wooden tool known as a "puller down."

4:
The Felt Is Now Blocked
The
felt is secured at the desired height with a cord. This forms the break line
between crown and brim. It will now be left for a day or so to dry. What looks
like staining on the brim is just water.

5:
Pressing the Crown
Different
finishes for the felt are possible and are achieved through various
means—sanding, brushing, shearing, the application of certain substances, etc.
This hat will have what's known as a bare finish—the most typical finish for a
felt hat—which provides a matte, smooth appearance with little or no nap.
Ironing the crown is the first step.

6:
Finishing
Once
the nap is taken down and a bare finish is achieved, the crown is cleaned up
with a steamy sponge bath and again left to dry.

7:
Pressing the Brim
When
dry, the felt is removed from the block and a flat, oval "band block"
is inserted into the base of the crown. This provides rigidity in the proper
shape and size at the base of the crown for pressing and cutting the brim. The
circumference of the band block is the customer's head circumference plus about
half an inch to allow room for the sweatband. Of course, the hat body is
initially blocked as close to that same measurement as possible.

8:
The Brim is Pressed
The
brim is pressed perfectly flat with an old 17 pound tailor's iron. The small
tool to the right and in front is a hatter's tolliker iron, used to help ensure
a clean, sharp break line between the crown and brim.

This concludes Part 1. Come back tomorrow to see Part 2.
Part 1
Part 2
Part 3
No comments:
Post a Comment